
In this article, we will see how we can use the self-referencing technique and Dataflows to create incremental refresh with PowerBI Pro version. This technique is tested and working both with cloud and on-premises data sources. In case you are using on-premise data sources to access new data, you need to add on-premise source in the Enterprise gateway prior to the creation of dataflows.
Update: We’ve also created a video explaining this concept in details. You can check the youtube video here.
Self Referencing table
Let’s explain, in simple terms, what a self-referencing table is based on the picture below. 
Steps to produce a self-referencing table:
- New Data enters the Main Table,
- History Data also enters the Main Table,
- Notice that History Table in step 4 is fueled from the Main Table, after step 3 is completed (in this step the self-reference is created)
- History and New Data are Appended into a single table,
- If the script of the Main table finishes successfully, History table gets larger for the Appended New Data part.
The process repeats with a refresh. So, for each following refresh, History Table grows to accumulate previous history + new data. The picture above is the key to understanding this article. If you feel lost at some point, come back to this part to thoroughly understand the technique (you can also check the link in the following paragraph).
So, to create a self-referencing table, we need a container for the historical data (History Table). Usually, this is an Excel table that is used to create self-reference applying a technique discussed in the following blog article. Using a similar approach but with dataflow acting as a container is a much better option since we can use an out-of-the-box scheduled refresh to keep our data up to date. In our example, Both Main and History tables are created with Dataflows.
Now let’s see how we can use this approach to create incremental refresh with PowerBI Pro Dataflows.
Solution with dataflows
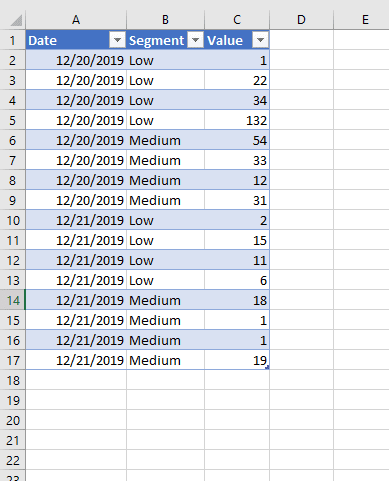
To keep it simple, we will reproduce an on-premise data source using Excel file saved on our local drive (this could be any online or on-premise data source). Our Excel has only one table containing 3 columns. Date column will be used as a key column for appending new data.
Process:
- Create a Main table inside Dataflows.
- DataFlow Query is: (If you wish to follow along, you need to create a similar table in Excel named Source, save it to your local drive and change the folder location in the source step. You also need to add your Excel location under an on-premise gateway sources).
let
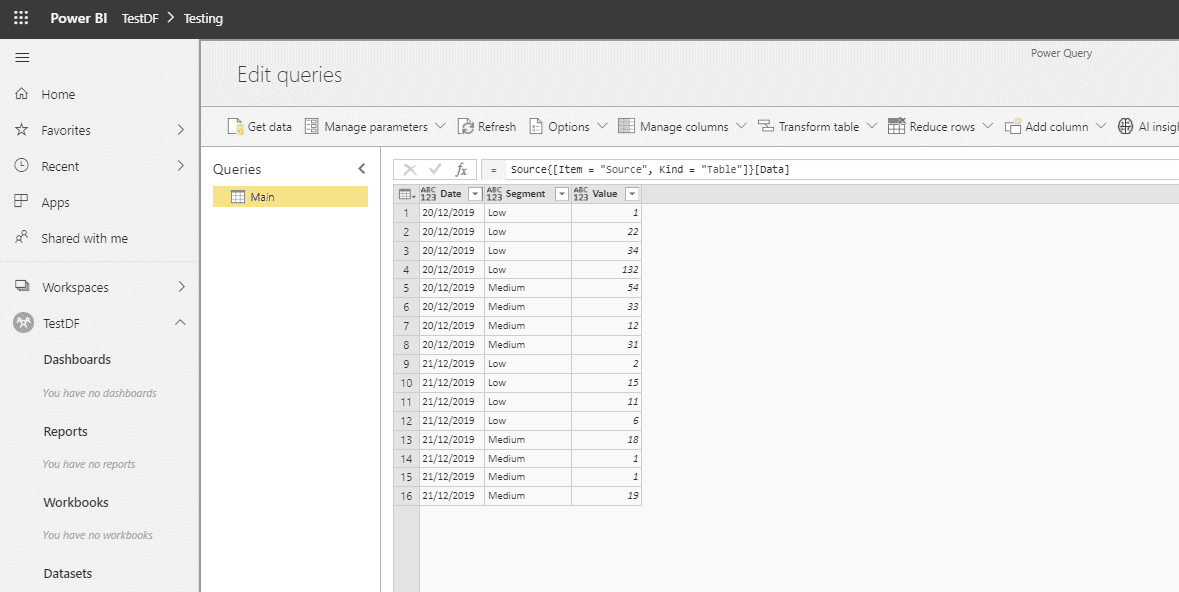
Source = Excel.Workbook(File.Contents(“C:\Users\kresi\Desktop\TestGateway\test.xlsx”), null, true),
Navigation = Source{[Item = “Source”, Kind = “Table”]}[Data]
in
Navigation

- DataFlow Query is: (If you wish to follow along, you need to create a similar table in Excel named Source, save it to your local drive and change the folder location in the source step. You also need to add your Excel location under an on-premise gateway sources).
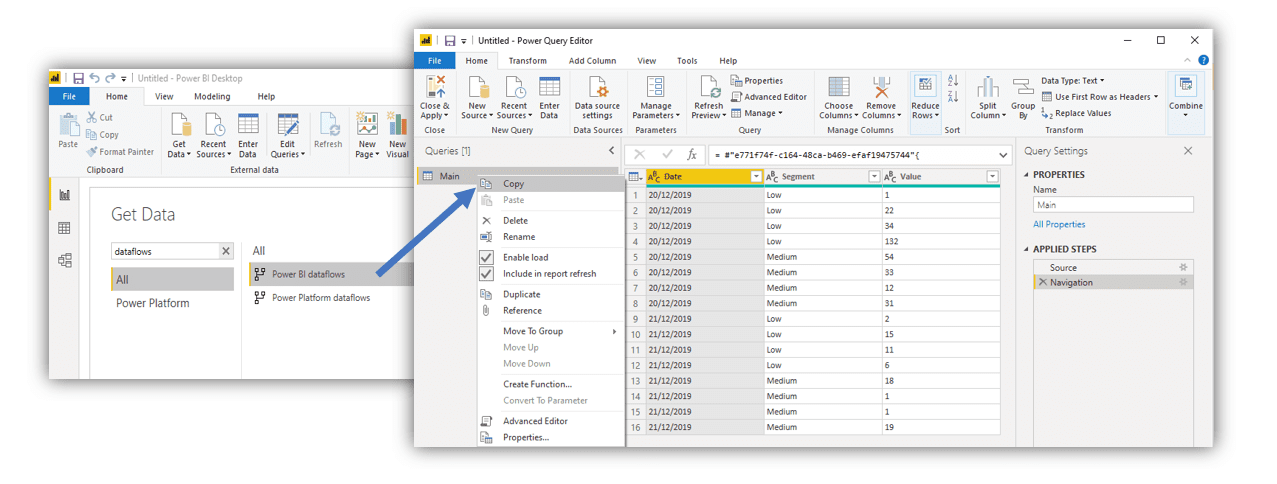
- Connect to the Main table Dataflow from PBI desktop using Power BI dataflows Connector (You can also connect directly in Dataflows, although the process is often quite slow).
- Use the M code created in step 2 to create History Dataflow.
- Set History query not to load. This way we will avoid linked entity which is reserved only for premium capacity.
- Use the M code created in step 2 to create History Dataflow.
- Turn the Main table into a self-referencing table.
There are 4 parts in the Main Table query that needs to be modified. Each part is explained in details below.
let Source = Excel.Workbook(File.Contents(“C:\Users\kresi\Desktop\TestGateway\test.xlsx”), null, true), 1 Navigation = Source{[Item = “Source”, Kind = “Table”]}[Data], NewData = Navigation, 2 AMinDate = List.Min(NewData[Date]), 3 FilteredHistory = Table.SelectRows(History, each [Date] < AMinDate), 4 CombineOldNew = Table.Combine({FilteredHistory, NewData}) in CombineOldNew
-
- Part containing the script to acquire new data. This is the step in which we determine how many days in the past we want to retrieve. This could be, for instance, a SQL statement that returns the last 5 days of sales from a database.
- AMinDate variable containing the first available date of the new data. In case of SQL statement, it will, for each refresh, return the oldest of the last 5 days of sales. This date will be used to filter out history table so that no duplicate values occur.
- Filter History Table based on AMinDate variable. Since we will be running the same script every day, we need to filter out days that are already included in the NewData part of the script. AMinDate variable will help us achieve that. In this step a self-referenced table is created.
- Append NewData to HistoryData.
- Part containing the script to acquire new data. This is the step in which we determine how many days in the past we want to retrieve. This could be, for instance, a SQL statement that returns the last 5 days of sales from a database.
-

After the 4th step, if the refresh is successful, History Table automatically grows to include NewData.
It is important to understand that History query is referencing Main query. Because of that, History is refreshed only after the refresh of the Main Table succeeds. This enables History to automatically grow and include new data after each refresh.
Bringing up-to-date History
If we want to bring full history to dataflows before setting to incremental refresh, we have 2 choices.
- Bring history before the start of an incremental refresh to a separate DataFlow, then append them in PowerQuery (in PBI Desktop).
- Run an up-to-date full DataFlow refresh once (using the script above), then change the 1st part of the script to a shorter timeframe.
After the initial up to date load, we can set each following NewData load to acquire only the last couple of days. AMinData variable will make sure that no duplicate values enter History table prior to append. We should set NewData to load at least the last couple of days, to have time to correct Query in case it fails to refresh. Refresh details in the picture below.

Incremental Refresh based on New ID-s
In case we need to append new data based on the ID column values (not on last available dates), we can use the RightAnti approach to exclude all new IDs in HistoryData. M code below should get you started.
let
Source = Excel.Workbook(File.Contents(“C:\Users\kresi\Desktop\TestGateway\test.xlsx”), null, true),
Navigation = Source{[Item = “Source”, Kind = “Table”]}[Data],
NewData = Navigation,
AColumnNames = Table.ColumnNames(NewData as table),
MergeQueries = Table.NestedJoin(NewData, {“id”}, History, {“id”}, “History”, JoinKind.RightAnti),
RemoveOldColumns = Table.RemoveColumns(MergeQueries, AColumnNames),
ExpandedHistory = Table.ExpandTableColumn(RemoveOldColumns, “History”, AColumnNames, AColumnNames),
CombineOldNew = Table.Combine({ExpandedHistory, NewData })
in
CombineOldNew
AColumnNames – list variable containing names of all the columns in a table,
id – name of the column which holds unique IDs that need to be added,
RighAnti will remove all IDs from HistoryTable that are already available in the new data.
Hope these techniques will help you ease the burden on the on-premise sources when refreshing data. It can also be useful to save history data in case of accessing APIs with limited API calls.
In case of any questions, please ask. If you enjoyed reading through the article, please like/share!