
In this blog, we will show you the technique used to collect tables for your app by using the bulk insert. We will show you how to make the same table structure in Power Apps as Excel tables. We will use Excel to show you how to copy-paste tabular data from it and collect it inside the Power Apps collection (the technique is not only limited to Excel). This is used mainly when you can predict the order of the columns in tables you wish to collect. If you don’t know the exact order in which you will collect data, then this solution will not work for you. We will show you in the following blog post how to do this technique dynamically to solve the ordering problem.
We will go through this technique step by step, and that includes making some mistakes and resolving them. If you are not interested in going through this step by step, you can skip to the end of the blog and see the full code for bulk insert.
Problem with Pasting from Excel
First, let’s look at the example involving a situation where you want your users to be able to paste Excel tables in the Text Input field and collect them to the Power Apps collection. We will consider the situation where we want users to collect data containing information about the quantity of the products sold. The table will contain columns CustomerID (containing customer that bought the product), Product (product name), Quantity (quantity sold) and Date (today’s date). Our interface is very simple and looks like this:
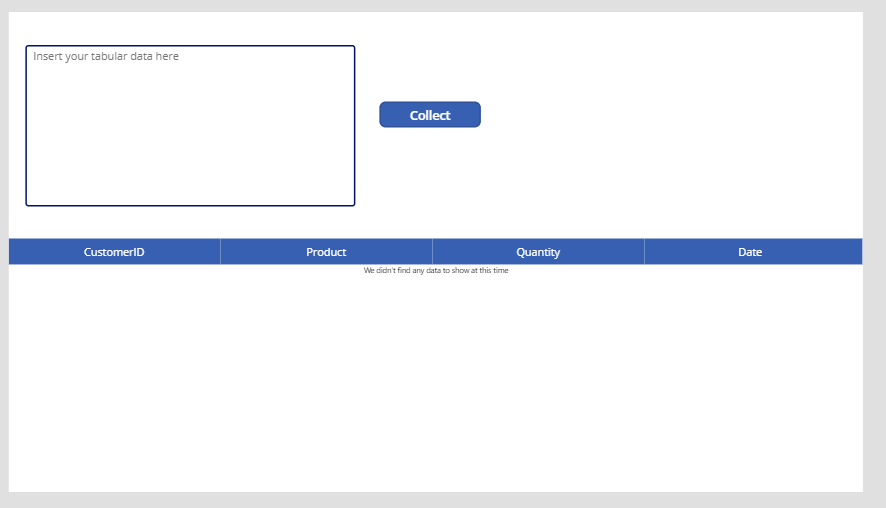
We have text input named TextInput1, button named CollectButton which is used to collect data, and the data table with the BulkCollection as the source to see the collection and find out if our code is working (in your real solutions you might have a gallery there instead). In short, in our text input, we will paste tabular data from Excel, collect it with CollectButton, and see if our data table looks exactly like in the Excel table.
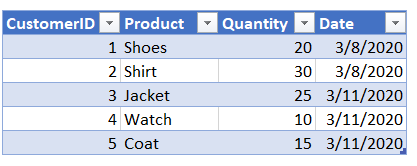
For the sake of simplicity, we’ll use the Excel table containing 5 rows:
Altering OnSelect property of the CollectButton
To achieve our goal, in the OnSelect property of the CollectButton, we will write the code using the combination of the ForAll() function with the Split() and Collect() functions. You can find the explanation below the code.
Clear(BulkCollection);
ForAll(
    Split(
        TextInput1.Text,
        Char(10)
    ),
    Collect(
        BulkCollection,
        {
            CustomerID: First(
                Split(
                    Result,
                    Char(9)
                )
            ).Result,
            Product: Last(
                FirstN(
                    Split(
                        Result,
                        Char(9)
                    ),
                    2
                )
            ).Result,
            Quantity: Last(
                FirstN(
                    Split(
                        Result,
                        Char(9)
                    ),
                    3
                )
            ).Result,
            Date: Last(
                FirstN(
                    Split(
                        Result,
                        Char(9)
                    ),
                    4
                )
            ).Result
        }
    )
)
Although the function is relatively long, the code for each column is almost identical. After clearing the InsertedCollection, we use the ForAll loop to iterate through each row of the TextInput1 (same as going through each row of the Excel table). For each row, we will collect data to our InsertedCollection. For example, we have row 1 from our Excel table containing customer 1, who bought 20 pairs of shoes on the date 3/8/2020. With the Split() function, we take the first row containing 4 different words and split it by Char(9) separator (which is a tab inside Excel). For example, for the first row, we get a table with 4 rows:

Now, to get the first row of this table (for CustomerID column), we use First(***).Result. For the second column (Product), we use Last(FirstN(***),2).Result, because in that way, we will first filter the table from the Split function to contain only the first two rows, and after that, take the last row (i.e., the second row of the table). The rest of the code is the same for every other column, with the only difference in the argument of the LastN() function (depending on which row from the Split table we want to get).
This will happen for each row of the table, so our collection should contain a complete Excel table. When we test this code, the result is not good:
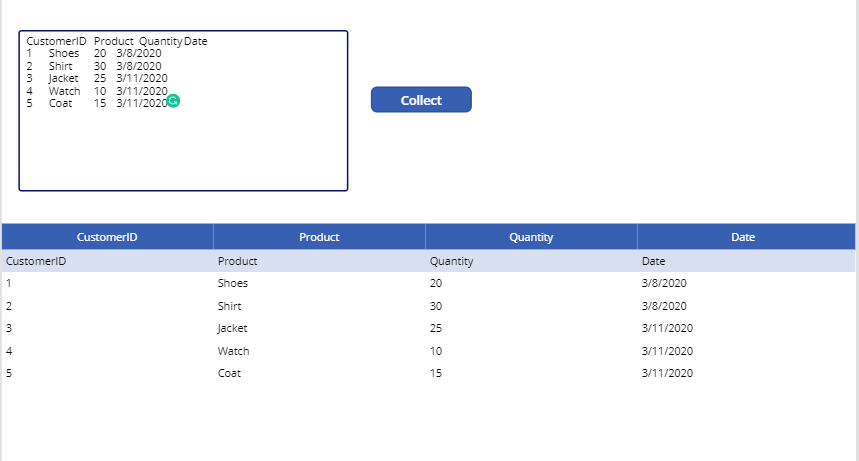
Since we copied the headers of the table (they are now the first row of the table), we got the headers and the last row with blank value in our collection. To prevent this, at the end of the OnSelect property of the CollectButton, add the RemoveIf() function to remove unnecessary rows.
RemoveIf(
    BulkCollection,
    CustomerID = "CustomerID" Or CustomerID = ""
)
This will remove the first row containing a header, and the last one containing the blank value.
To make it case insensitive, add Lower() function in front of the CustomerID column.
RemoveIf(
    BulkCollection,
    Lower(CustomerID) = "customerid" Or CustomerID = ""
)
Testing the Solution
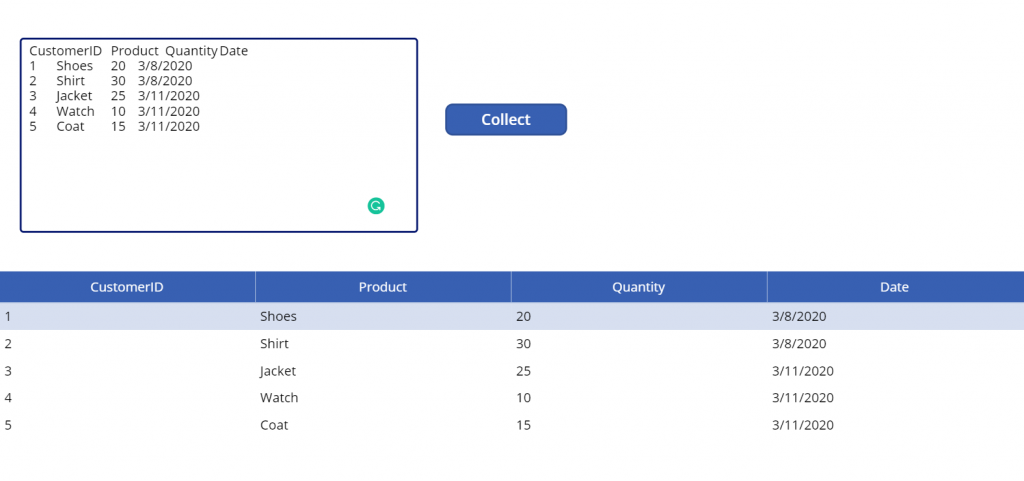
If we test our app now, we get the result without unwanted rows.
The last problem here is that our Quantity and Date columns data type is text. In order to resolve this problem, we will use the Value and DateValue functions within our code to convert strings into the required data type.
The final code for CollectButton’s OnSelect property:
Clear(BulkCollection);
ForAll(
    Split(
        TextInput1.Text,
        Char(10)
    ),
    Collect(
        BulkCollection,
        {
            CustomerID: First(
                Split(
                    Result,
                    Char(9)
                )
            ).Result,
            Product: Last(
                FirstN(
                    Split(
                        Result,
                        Char(9)
                    ),
                    2
                )
            ).Result,
            Quantity: Value(
                Last(
                    FirstN(
                        Split(
                            Result,
                            Char(9)
                        ),
                        3
                    )
                ).Result
            ),
            Date: DateValue(
                Last(
                    FirstN(
                        Split(
                            Result,
                            Char(9)
                        ),
                        4
                    )
                ).Result
            )
        }
    )
);
RemoveIf(
    BulkCollection,
    Lower(CustomerID) = "customerid" Or CustomerID = ""
)
Our collection now has all the necessary data, as well as the correct data types.
In the following blog post, we will describe how to avoid getting duplicate values when using this technique. It is important to notice that by using this technique, we are referencing column orders in our code (in the FirstN count argument). This means that if the order of the columns from the Excel table is not exactly like in our code, this technique will fail and show incorrect data. As mentioned, this will also be the topic of our future blog, in which we will show how to avoid the column ordering problem.
I hope it helps you in developing your apps. If you have any questions or comments, please leave them below!